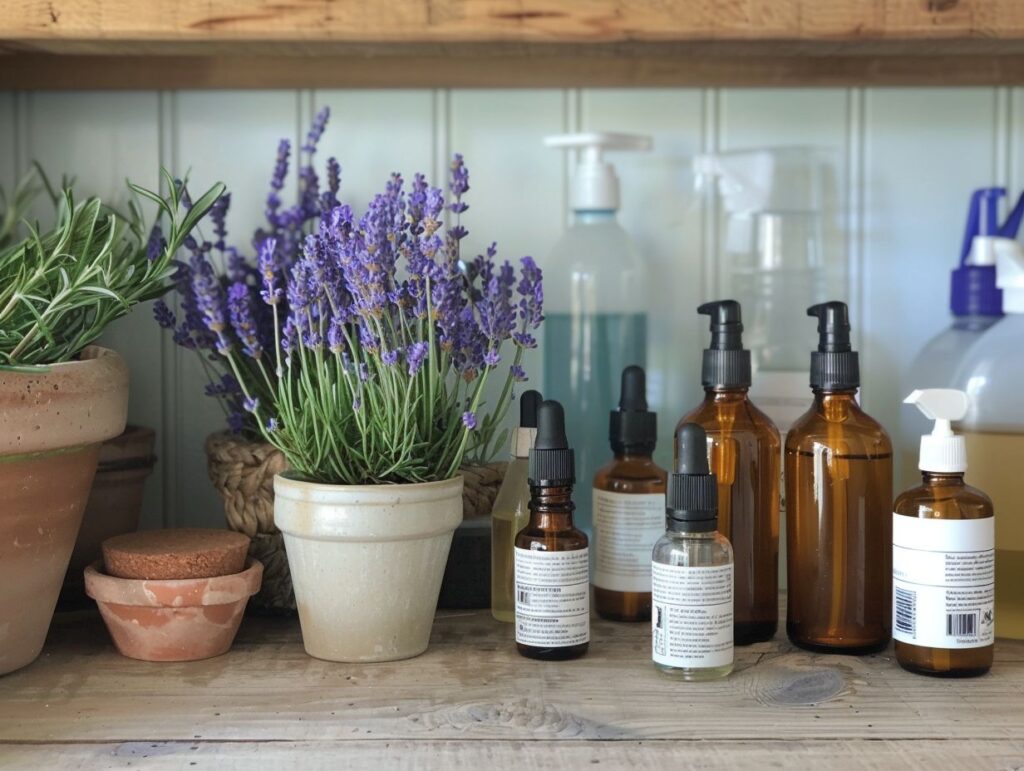
Categories: Home Cleaning Tips

Tips for Cleaning Your Garden Furniture Before Summer

Keeping your garden furniture clean and well-maintained as summer rolls in can enhance your outdoor enjoyment.

This guide has everything you need to clean your garden furniture, from the tools and supplies you’ll need to some effective cleaning techniques. You’ll find tips on keeping that freshly cleaned look and tackling any stubborn stains or damage that might pop up.

Get ready to boost your outdoor space for all those sunny days ahead!
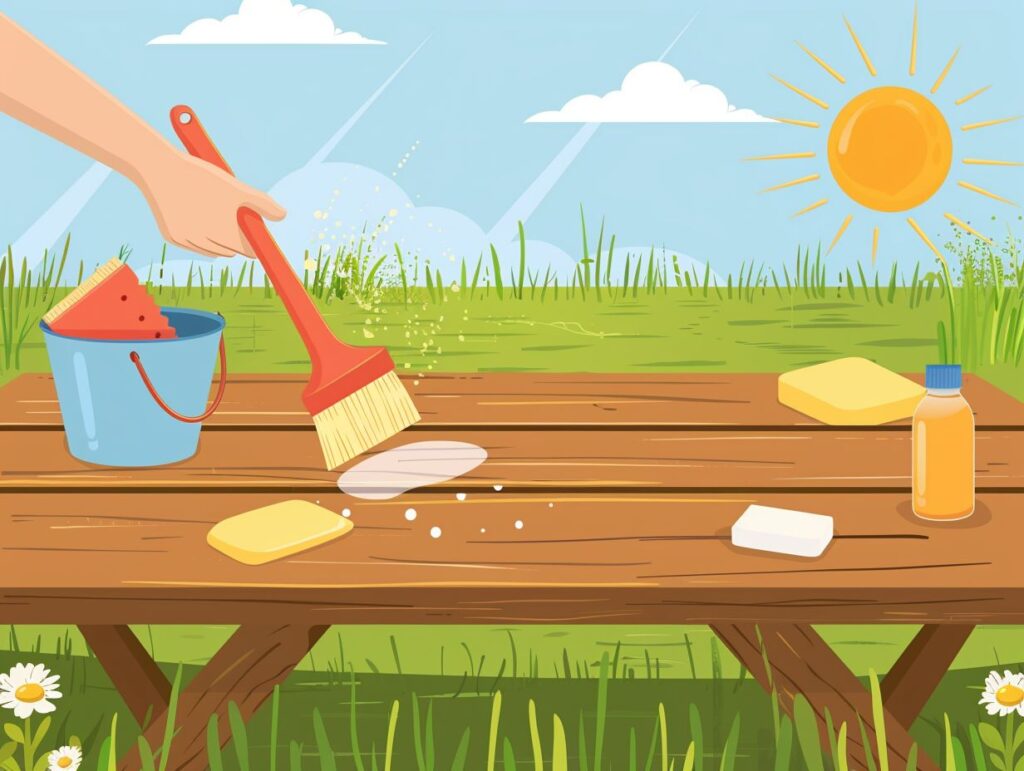
Essential Equipment and Cleaning Solutions

Do Not Take Your Garden Furniture For Granted

Cleaning is vital for keeping your outdoor furniture looking great and lasting longer, especially during the summer when you use it the most. Whether it’s your patio set, decking furniture, or garden decor, regular cleaning helps keep everything in top shape, free from dirt, mildew, and grime that can build up over time.

By making cleaning a priority, you will boost the visual appeal of your outdoor space and extend the life of your furniture, making every summer spent outside more enjoyable and worry-free.

Think of seasonal cleaning as your shield against the harsh elements. It helps prevent damage caused by UV rays, rain, and unpredictable temperature swings. Your outdoor furniture, usually wood, metal, or plastic, deserves some TLC.

If you skip the cleaning, you could end up with corrosion, fading, or even mould growth, which ruins its structure and appearance over time.

Regular maintenance routines, like gentle washing and proper storage during the off-season, can help minimise these risks. Plus, this proactive approach keeps your space looking inviting and saves you money in the long run by avoiding costly replacements from neglect.

Tools and Supplies for Cleaning

To clean your garden furniture effectively, you must gather the right tools and supplies to make the job efficient and thorough. Consider using a pressure washer for those deep cleaning sessions, while a simple scrubbing brush can handle regular maintenance.

You can tackle dirt, grime, and mould with the right equipment without sweating. Moreover, eco-friendly cleaners and effective cleaning solutions will help keep your outdoor furniture looking great while being kind to the environment.

Essential Equipment and Cleaning Solutions

Having the right tools and cleaning solutions is essential for cleaning your outdoor furniture and achieving that spotless finish you aim for. Consider using a pressure washer to blast away the dirt and a soapy solution that tackles those pesky stains while being safe for all your materials. If you’re keen on keeping your outdoor space sustainable, incorporating eco-friendly cleaners is a fantastic idea to protect your garden decor.

Plenty of cleaning solutions exist, each with its benefits. For example, a mild washing-up liquid mixed with water works wonders on aluminium and plastic furniture, giving you that gentle yet effective clean. Use a specialised wood cleaner that removes dirt and nourishes the wood if you have wooden surfaces. And don’t forget about your metal furniture; a vinegar solution can work wonders on rust spots.

It’s essential to follow product instructions, such as diluting concentrated cleaners properly and using soft cloths to avoid scratching. Knowing which solution works best for your furniture will help keep your outdoor investments pristine for years.

Step-by-Step Guide for Cleaning Garden Furniture

Cleaning your garden furniture may initially feel overwhelming, but it becomes much more manageable if you break it down into simple steps. Start by getting your space ready and gathering all your cleaning tools.

Then, take a good look at the material of your furniture; this way, you can choose the proper cleaning methods—whether that means pressure washing, scrubbing, or applying a protective sealant.

Every step is vital to ensure that your outdoor furniture is clean and well-maintained so that you can enjoy it for a long time.

Preparation and Cleaning Techniques

Before you dive into the cleaning process, remember that preparation is key to achieving great results, especially with those complex garden furniture pieces that might need a bit of disassembly. Start by removing cushions, furniture covers, and any detachable parts. Then, choose the correct cleaning method based on the material of your outdoor furniture. Whether it’s a thorough scrub with a brush or a gentle wash with vinegar and water, ensure you have what you need. And don’t forget—allow your furniture to dry completely to keep mould and mildew at bay.

Proper preparation makes the job easier and helps protect your garden furniture. A soft cloth with a mild soap solution works wonders for wooden pieces; a little oil can add a nice protective layer. Metal surfaces? They’ll thank you for a rust-inhibiting cleaner to keep them durable against the elements. As for plastic furniture, which can fade easily, a cleaning mix of bicarbonate of soda and water will help maintain its appearance.

By tailoring your cleaning approach to the specific materials, you can achieve a pristine finish that truly enhances the beauty and longevity of your outdoor space.
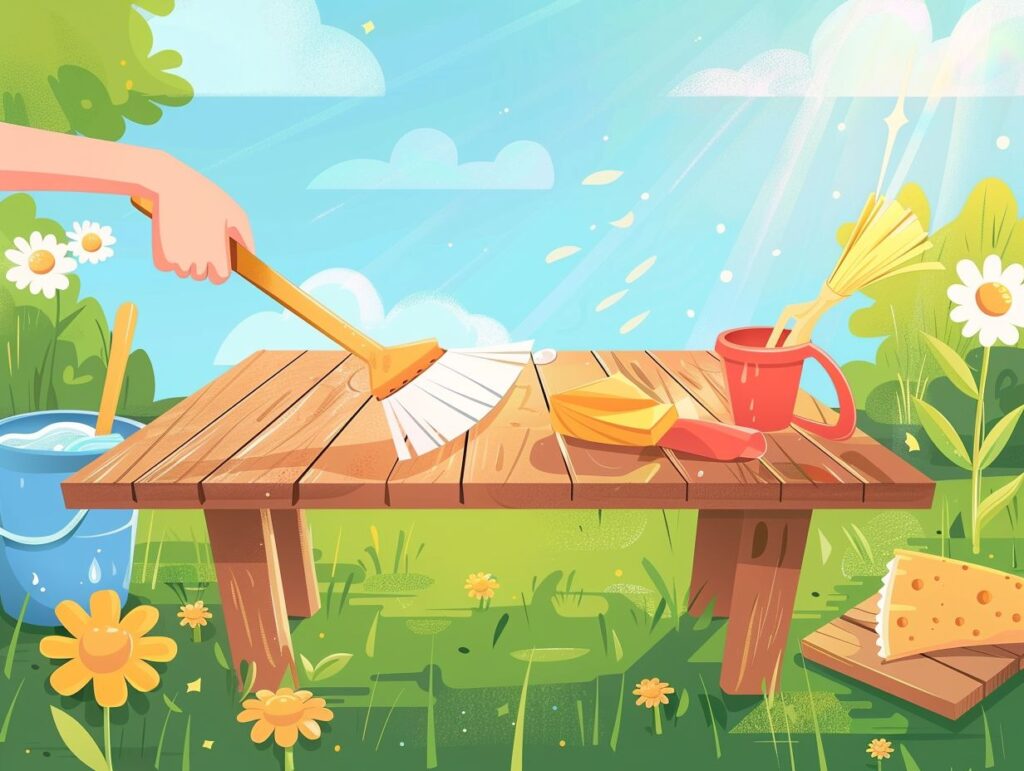
Preventative Measures and Regular Maintenance

Tips for Maintaining Clean Garden Furniture

Keeping your garden furniture clean is more than just that first scrub down; it’s all about regular upkeep and smart maintenance tips that can extend the life of your outdoor investments.

You’ll want to set up a schedule that aligns with the seasons—spring cleaning and seasonal check-ups—to keep your furniture looking smart and ready for summer fun.

Moreover, adding protective sealants can help enhance durability while ensuring your furniture looks fantastic no matter what Mother Nature throws at it.

Preventative Measures and Regular Maintenance

To ensure your outdoor furniture lasts and looks great, it is crucial to take preventative measures and establish a regular maintenance routine.

Regularly cleaning the surfaces according to their material will help you eliminate grime and prevent those annoying stains. Moreover, now and then, re-sealing or oiling your wooden pieces will keep them from cracking or fading. Don’t forget to use the appropriate cushions and pads to protect against scratches and moisture damage. By remaining vigilant and proactive, you can extend the life of your furniture and enhance the overall appearance of your garden or patio area.

These simple practices create a welcoming atmosphere for gatherings, making your outdoor spaces enjoyable regardless of the season.

Dealing with Stubborn Stains and Damage

Dealing with stubborn stains and damage on your garden furniture can be frustrating, but don’t worry! You can bring your outdoor pieces back to life with the right cleaning solutions and techniques.

Whether you’re facing rust on metal furniture or mould on cushions, knowing how to tackle these issues is critical to keeping your outdoor space looking good and intact. Addressing rust and mould removal when you notice them will ensure your furniture looks great and lasts longer.

Effective Solutions for Common Stains and Damage

The right solutions can help you keep your garden furniture looking great when dealing with common stains and damage. For mildew, a simple mix of vinegar and water does the trick and is eco-friendly, too. If rust is giving you trouble, you might need a specialised cleaning product or a trusty scrub brush for those stubborn spots. Don’t be afraid to try different techniques to discover what works best for thoroughly cleaning and restoring your outdoor furniture.

Do grease stains from food spills? Whip up a paste of bicarbonate of soda and water—it’s a gentle abrasive that works wonders. For those more persistent stains, grab a soft cloth and dip it in soapy water; just be careful not to scratch any surfaces. If you have wooden furniture, applying a teak or linseed oil finish after cleaning will help bring back its shine and protect it from the elements.

Choosing these eco-friendly options helps the environment and ensures it’s safe for pets and children, allowing everyone to enjoy a beautiful, well-maintained outdoor space.

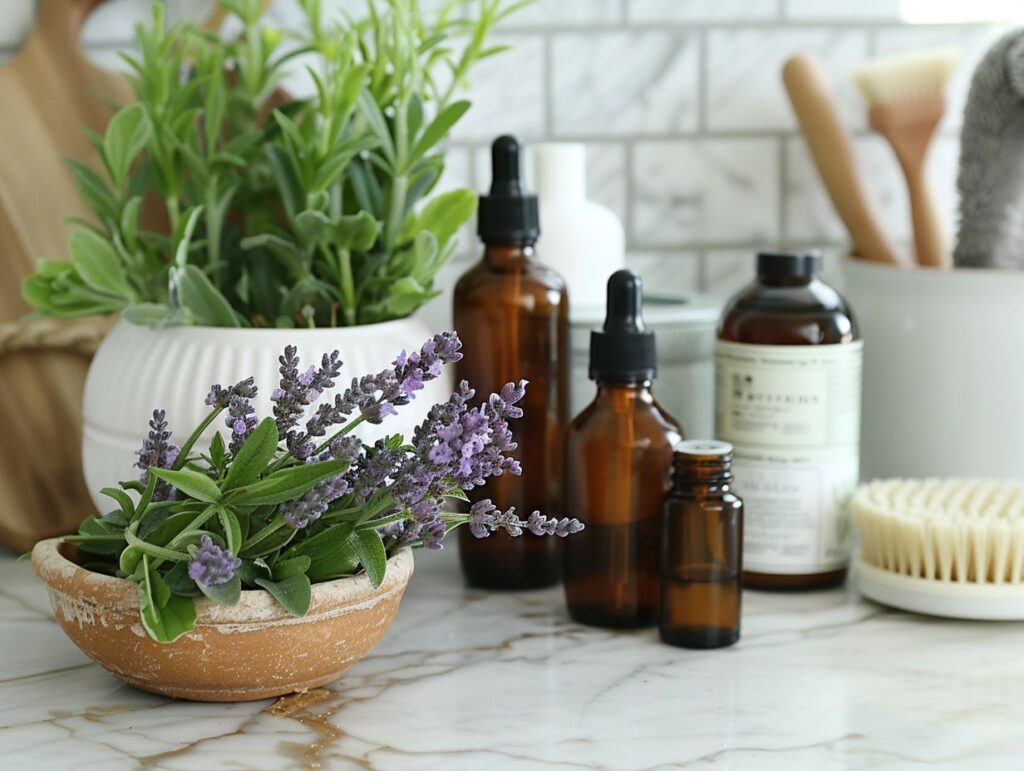
Categories: Home Cleaning Tips

The Top Ten Uses Of Lavender For Home Cleaning

I love finding easy and eco-friendly ways to keep my home clean. That’s why I swear by lavender essential oil. It’s not just a pretty scent – lavender can tackle odours, disinfect surfaces, lift stains, freshen laundry, ward off bugs, and even soothe headaches. In this article, we’re going to dive into the top ten ways you can use lavender to spruce up your home. We’ll cover everything from whipping up your DIY cleaning solution to seamlessly incorporating lavender into your cleaning routine. Plus, we’ll explore how you can mix and match lavender with other essential oils for that extra cleaning punch. So, let’s roll up our sleeves and unleash the cleaning power of lavender for a home that sparkles and shines.

Lavender for home cleaning

Eliminates Odours

I love using lavender in my home, not just for its refreshing scent but also for its natural antibacterial properties. It’s like a superhero in the world of odour elimination!

This herb doesn’t just make things smell nice; it’s also a tough natural cleaner that kills germs and bacteria that cause those funky odours. Thanks to its antibacterial powers, lavender helps me create a healthier living space while keeping things smelling fresh. Plus, it’s non-toxic, so I don’t have to worry about harsh chemicals.

Whether I use it in essential oilssachets, or sprays, lavender is my go-to for a sustainable and pleasant way to keep my home smelling clean and inviting.

Disinfects Surfaces

I love using lavender as a natural disinfectant in my home. It’s a clever choice for keeping things clean and healthy around here. With its antibacterial properties, lavender is a powerhouse for sanitising all surfaces.

But wait, there’s more! Lavender isn’t just a harsh disinfectant – it’s also a gentle warrior against harmful bacteria. I mean, who knew this flower could deliver such a blow naturally? The best part is that it gets the job done without harsh chemicals. That’s why I’m all about using eco-friendly lavender products to keep my home safe and sound. It’s a non-toxic way of ensuring my living space is germs-free.

Removes Stains

Regarding dealing with those annoying stains, I swear by lavender. This stuff is like a superhero in cleaning – it’s super versatile and can handle pretty much any stain you throw at it.

Not only does lavender smell amazing, but it’s also a boss about removing stains like grease, dirt, and even mould. Whether dealing with laundry stains, carpet spills, or kitchen disasters, I choose lavender-based solutions for a natural and gentle clean. For a quick stain-busting spray, I mix the lavender essential oil with water in a spray bottle and give the dirty area a light mist before scrubbing away. It’s not just about removing stains – it leaves everything smelling fresh and soothing too.

Repels Insects

Freshens Laundry

I love adding a touch of lavender to my laundry routine—it just elevates the whole experience! Whether using lavender-scented products or whipping up some DIY solutions, that soothing scent is a game-changer for my clothes.

Not only does lavender mask any funky odours lingering on my laundry, but it also has these calming properties that help me destress. It’s like turning a chore into a mini spa day! I like to mix a few drops of lavender essential oil into my laundry detergent or throw in some lavender-scented dryer sheets for that long-lasting freshness. These simple additions take my laundry routine up a notch, making it a more enjoyable and therapeutic task.

Repels Insects

I love how lavender makes my home smell amazing and naturally keeps pesky insects away. It’s like a two-for-one deal that’s good for my space and the environment.

Lavender’s insect-repelling powers come from its aromatic oils, especially linalool, which bugs can’t stand. Placing sachets of dried lavender in my cupboards, drawers, or by the doors helps keep those pests away. And if I want to get fancy, I can whip up a DIY lavender spray by mixing water with lavender essential oil and giving my living areas a spritz. This natural method helps with insect control and avoids harsh chemicals, making it a safe and eco-friendly way to manage pests.

Cleans Kitchen Appliances

I love using lavender-infused cleaners to keep my kitchen appliances sparkling clean. Lavender’s natural cleaning power makes maintaining a fresh and tidy kitchen easy.

Lavender is a superhero when cleaning up grease and grime in the kitchen. It’s gentle yet super effective, making it a perfect ingredient for cleaning supplies. Lavender’s calming aromatherapy effects add a bonus to the cleaning process.

For a kitchen that’s both fresh and eco-friendly, I always go for lavender-infused cleaning supplies that are free from harsh chemicals. It’s all about creating a safe environment for my family. Having lavender in my cleaning routine helps me transform my kitchen into a peaceful and welcoming space.

Polishes Wood Furniture

I love giving my wooden furniture a little pick-me-up with natural lavender furniture polish. It’s not just about cleaning – it’s like giving my wooden pieces a spa day. Lavender’s all-natural cleaning powers are perfect for keeping my furniture looking fresh and fabulous.

With its antimicrobial and antibacterial superpowers, lavender doesn’t just clean – it also protects my furniture from any nasty germs lurking around. And the best part? Its gentle touch ensures my wooden surfaces gleam without any harsh chemicals. Adding lavender to my furniture care routine isn’t just about maintenance – it’s about transforming my living space into a zen paradise. I only need some lavender essential oil and olive oil to whip up my lavender furniture polish. It’s a simple recipe for a nourishing and beautifully scented wood cleaner.

Polishes Wood Furniture

Deodorises Carpets

I love saying goodbye to those funky odours in my living space with a lavender carpet deodoriser. It freshens things up and leaves a delightful scent lingering in the air.

And get this—not only does lavender make my carpets smell amazing, but it also has natural antibacterial powers that kick odour-causing bacteria to the curb. It’s like a one-two punch of freshness!

Adding lavender spray to my cleaning routine is a total game-changer. It not only freshens up my place but also brings a calming vibe to the atmosphere. I mix lavender oil with water in a spray bottle and regularly mist my carpets. It’s such a simple step, but it makes a big difference in keeping my home smelling clean and inviting.

What Is the Best Way to Use Lavender for Cleaning?

I’ve been exploring the wonders of lavender as a natural cleaning remedy, and let me tell you, it’s a game-changer. Whether whipping up some DIY cleaning hacks or using versatile lavender solutions, this herb is a powerhouse for eco-friendly and effective cleaning.

The calming and antibacterial powers of lavender are just what I need to freshen up my home. I love making my lavender-infused all-purpose cleaner with lavender essential oil, water, and a splash of white vinegar. Not only does it clean like a champ, but it leaves behind a lovely, soothing lavender fragrance.

By planting lavender in my garden, I’ve been able to naturally ward off pesky insects without resorting to harsh pesticides. And those lavender sachets in my drawers and closets? They keep my clothes smelling fresh and moth-free. Embracing lavender as my cleaning sidekick adds a little touch of nature to my daily household chores.

How to Make a DIY Lavender Cleaning Solution?

I love whisking up my DIY lavender cleaning solution – it’s such a satisfying and eco-friendly way to keep my home spick and span. I’m all about trying out different recipes and methods to make homemade cleaning products that harness the awesome power of lavender. Thanks to its relaxing scent and antibacterial kick, lavender is like a superhero in the cleaning world. It’s a total game-changer for my cleaning routine.

I usually mix up a lavender-infused all-purpose cleaner by blending water, vinegar, and a few drops of lavender essential oil in a spray bottle to kick things off. This solution cleans like a champ and leaves behind the most incredible scent. And here’s an excellent tip: I mix bicarbonate of soda and dried lavender buds in a jar for a natural fabric refresher, then sprinkle it on my carpets before giving them a good hoovering. These DIY cleaner recipes are a breeze to whisk up and super safe for my family and the environment. It’s like cleaning with a touch of magic!

How to Make a DIY Lavender Cleaning Solution?

Can You Use Lavender for Cleaning Bathrooms?

I love incorporating lavender into my bathroom cleaning routine. It adds a touch of relaxation and freshness to this critical space. I’ve been exploring some practical cleaning tips and discovering all the benefits of using lavender to keep my bathroom spick and span.

Not only does lavender make my bathroom smell amazing, but it also has natural antibacterial properties, which are perfect for cleaning. I’ve started making my own DIY lavender cleaning spray to boost the cleaning power of lavender. Mix some lavender essential oil with water in a spray bottle, and voila! This homemade cleaner gets surfaces sparkling clean and leaves a lovely, calming scent lingering in the air.

Lavender helps to ease my stress and brings a sense of tranquillity to my cleaning routine. It creates a peaceful bathroom oasis where I can tackle my cleaning tasks with a little extra zen.

Is Lavender Safe to Use on All Surfaces?

When it comes to keeping my house neat, I love lavender because it’s like the Swiss Army knife of cleaning supplies. It’s safe and works wonders on all surfaces. Plus, it doubles as a natural air freshener—talk about a multitasker! Lavender isn’t just a lovely scent; it also has some serious antibacterial superpowers. That’s why it’s my choice to create safe cleaning mixtures.

By adding lavender to my cleaning regime, I know I’m creating a healthier space for myself and my loved ones. I’ve got this recipe for a lavender-infused all-purpose cleaner that’s a game-changer. Mix distilled water, white vinegar, and a few drops of lavender essential oil in a spray bottle. Not only does it effectively deal with dirt and grime, but it also fills the air with a soothing fragrance. It’s like a small spa day for my home!

How to Incorporate Lavender Into Your Cleaning Routine

I love going green at home, especially with my cleaning routine, which incorporates lavender. I’ve found some great tips for cleaning with lavender that have turned my daily chores into eco-friendly and refreshing experiences.

Lavender isn’t just a lovely scent; it has many cleaning benefits. Its antimicrobial properties naturally help eliminate germs, making it a fantastic non-toxic cleaning solution.

To enjoy the calming scent of lavender while tackling dirt and grime, I’ve started making my lavender-infused all-purpose cleaner. All it takes is mixing lavender essential oil with water and vinegar to create a powerful yet gentle cleaning mixture.

These simple changes make my home smell amazing and create a greener and healthier environment that benefits both me and the planet.

What Other Essential Oils Can Be Combined with Lavender for Cleaning?

I like to boost lavender’s cleaning power by mixing it with other essential oils that can do serious work. There are so many options for creating green cleaning products that get the job done and help create a sustainable and eco-friendly home vibe.

When you blend lavender with oils like lemon, tea tree, or peppermint, you end up with powerful cleaners that can naturally tackle dirt and grime. The soothing scent of lavender, combined with citrusy or herbal oils, leaves your space spotless and uplifts your mood a little.

These essential oil combinations are effective and do not contain any harsh chemicals, so they are safer for your family and the planet. I enjoy mixing and matching different oils to devise cleaning solutions that suit my style and make my home greener.

What Are Some Tips for Cleaning with Lavender?

I’ve been perfecting my cleaning game with lavender lately, and let me tell you, it’s a game-changer. I’m all about levelling up my eco-friendly cleaning routine with lavender-based solutions and finding cool ways to keep my home green and sustainable.

I’ve been infusing lavender essential oil into my DIY cleaning products, and let me tell you, that stuff is a double threat. It gives off a fresh, natural scent and has antibacterial properties. When I whip up an all-purpose cleaner by mixing lavender oil with water and vinegar in a spray bottle, I can clean surfaces while enjoying the calming vibes of lavender that help me destress and create a chill atmosphere.

And get this: adding dried lavender buds to a sachet or pillow is a game-changer for freshening up my cupboards and drawers. I’m embracing the lavender power to the fullest in my cleaning routine, bringing a holistic and aromatic twist to how I keep my home spick and span.

Categories: Home Cleaning Tips

How To Make Spring Cleaning Easier In Ten Simple Steps

Spring cleaning – the annual ritual that many of us approach with a mix of dread and determination. It’s that time of year when we throw open the windows, roll up our sleeves, and tackle the accumulated mess and grime of the past months. However, the traditional approach of attempting to conquer it all in a single exhausting day can leave us feeling overwhelmed and burnt out.

But fear not! There’s a better way to approach the whole affair, which breaks it down into manageable tasks over time. By adopting a more strategic and systematic approach, you can make spring cleaning not only easier but also more effective. Here are ten simple steps to help you breeze through spring cleaning this year.

Start With a Plan

Planning is the key to any successful endeavour, and spring cleaning is no exception. Before diving in:

  1. Take some time to create a comprehensive plan for action.
  2. Make a list of all the areas in your home that need attention, prioritising them based on urgency and importance.
  3. Break down the tasks into smaller, more manageable chunks, and assign specific tasks to specific days or weekends.

A clear plan will help you stay organised and focused throughout the cleaning process.

Declutter First

Before you can effectively clean your home, you need to declutter it. Take some time to go through each room and identify items that you no longer need or use. Be ruthless in your decision-making – if you haven’t used or worn something in the past year, chances are you don’t need it. Donate or discard anything that no longer serves a purpose, and you’ll be amazed at how much lighter and more spacious your home feels.

Gather Your Supplies

There’s nothing worse than getting halfway through a cleaning task only to realise you don’t have the right supplies. To avoid this frustration, take inventory of your cleaning supplies before you start. Make sure you have all the essentials, including multipurpose cleaners, microfiber cloths, sponges, scrub brushes, and garbage bags. Having everything you need within arm’s reach will streamline the cleaning process and make it much more efficient.

Take It One Room at a Time

Instead of trying to tackle your entire house in one go, break it down into smaller, more manageable chunks by focusing on one room at a time. Start with the most frequently used rooms, such as the kitchen, living room, and bathrooms, and work your way through the house systematically. By concentrating your efforts on one room at a time, you’ll be able to give each space the attention it deserves and avoid feeling overwhelmed.

Clean Top to Bottom, Left to Right

When cleaning each room, follow the top-to-bottom, left-to-right rule. Start by dusting ceiling fans, light fixtures, and shelves before moving on to surfaces and furniture. Then, work your way down to floors, ensuring you don’t miss any nooks or crannies. By cleaning methodically, you’ll minimise the risk of missing spots and having to backtrack later on.

Don’t Forget the Often Neglected Areas

It’s easy to focus on the obvious areas when cleaning, but don’t forget the often-overlooked spots that can harbour dust and dirt. Take the time to clean behind and underneath furniture, appliances, fixtures, and inside cabinets, drawers, and closets. Pay special attention to areas like baseboards, window sills, and door frames, which can accumulate grime over time. Giving

These forgotten areas need extra TLC, leaving your home looking and feeling truly clean.

Break It Up Over Time

Instead of cramming all your spring cleaning into a single weekend, spread it out over several weeks. Dedicate a few hours each weekend to tackling one or two tasks from your cleaning plan, and don’t feel pressured to do it all at once. Pace yourself and take breaks when needed to avoid burnout. Breaking up your spring cleaning into smaller, more manageable chunks will make the process less daunting and more achievable.

Get the Whole Family Involved

Spring cleaning doesn’t have to be a solo endeavour – get the whole family involved to lighten the load and make it a fun, collaborative effort. Assign age-appropriate tasks to each family member and turn cleaning into a game or challenge. Set a timer and see who can clean their assigned area the fastest, or reward everyone with a special treat once the cleaning is done. Not only will getting the whole family involved make spring cleaning more enjoyable, but it will also teach valuable lessons about responsibility and teamwork.

Take Advantage of Technology

In today’s digital age, countless apps and tools are available to help streamline the cleaning process. From chore-tracking apps that help you stay organised to robot vacuum cleaners that take care of the floors, there are plenty of ways to leverage technology to make spring cleaning more manageable and efficient. Explore different apps and gadgets to find ones that work for you and incorporate them into your cleaning routine.

Reward Yourself

Finally, once your spring cleaning is complete, don’t forget to reward yourself for a job well done. Treat yourself to something special—a relaxing spa day, a delicious meal at your favourite restaurant, or simply some well-deserved downtime at home. Acknowledging and celebrating your hard work will help you stay motivated and make the cleaning process more rewarding.

Conclusion

Spring cleaning doesn’t have to be a daunting or exhausting task. By breaking it down into smaller, more manageable steps and spreading it over time, you can make the process much easier and more effective. Start by creating a plan, decluttering your space, and gathering your supplies, then take it one room at a time, cleaning from top to bottom and left to right. Don’t forget to enlist the help of your family, take advantage of technology, and reward yourself for a job well done. With these ten simple steps, you’ll be well on your way to a cleaner, more organised home in no time. Happy cleaning!

Categories: Uncategorised

The Cleaner’s Guidebook: Cleaning A Teenager’s Room

After more than two decades in the cleaning business, I have found out that the trickiest skill to master is human relations. Dust, spills, and stains have always been easy for me to overcome, unlike the attitude of some customers. Arguably the toughest challenge of them all is adjusting to the caprices of teenagers. 

When I get a home cleaning booking, I always keep my fingers crossed that there is no teenager in the household. Toddlers and little kids are okay – they actually make my visits funny and cheerful, and if you are up to it, you can turn the cleaning into a game.

Teenagers are a whole different issue altogether. They are moody, passive-aggressive, and often make your job difficult just because they had a bad day at school. Here are my three simple rules to follow if you are expected to clean a teenager’s room:

  1. Have a frank conversation with the parents, and then with the child. Do not get me wrong – not all teenagers are monsters. Some of them simply want you to treat them as mature people, which is reasonable enough. Set up some basic rules and stick to them – they will appreciate it.
  2. Do not move ANYTHING. Unless it is obviously a piece of trash, leave everything where you find it. Stick only to the basic cleaning tasks and do not go overboard. 
  3. Do not side with the parents. Even if you agree with them, do not show it – it will turn a prickly situation into a professional nightmare.